Choosing the right editing mode is the fastest way to get a useful result. Qwen Image Edit Plus offers nine workflows for common creative tasks, from removing an object to combining people, products, and scenes. This guide helps creators, marketers, and designers select a feature, write a focused prompt, and iterate efficiently.
Choose the right feature for your goal
Qwen Image Edit Plus provides a feature selector interface that makes it easy to choose the right tool for your editing needs. Here's what each feature offers:
General Edit
Best for: Overall image improvements and creative transformations
The General Edit feature is your go-to tool for comprehensive image modifications. It handles a wide range of editing tasks while maintaining semantic consistency.
When to use:
- Overall style changes
- Color adjustments
- Creative transformations
- General image enhancements
Example Use Case: Transform a casual photo into a professional headshot
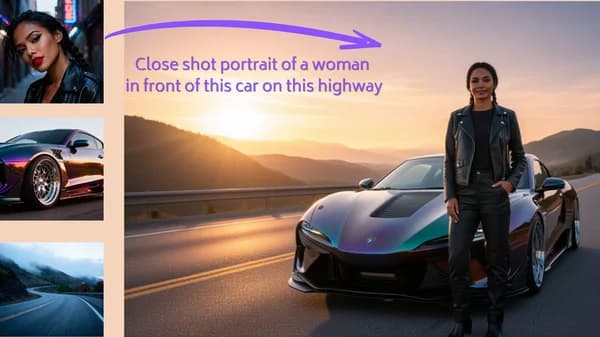
Add Background
Best for: Creating new scenes and environments
Replace or enhance existing backgrounds with new ones. Perfect for product photography, portraits, and creative compositions.
When to use:
- Product photography with clean backgrounds
- Portrait sessions needing new environments
- Creative scene building
- E-commerce product displays
Example Use Case: Add a studio background to a product photo
Prompt:
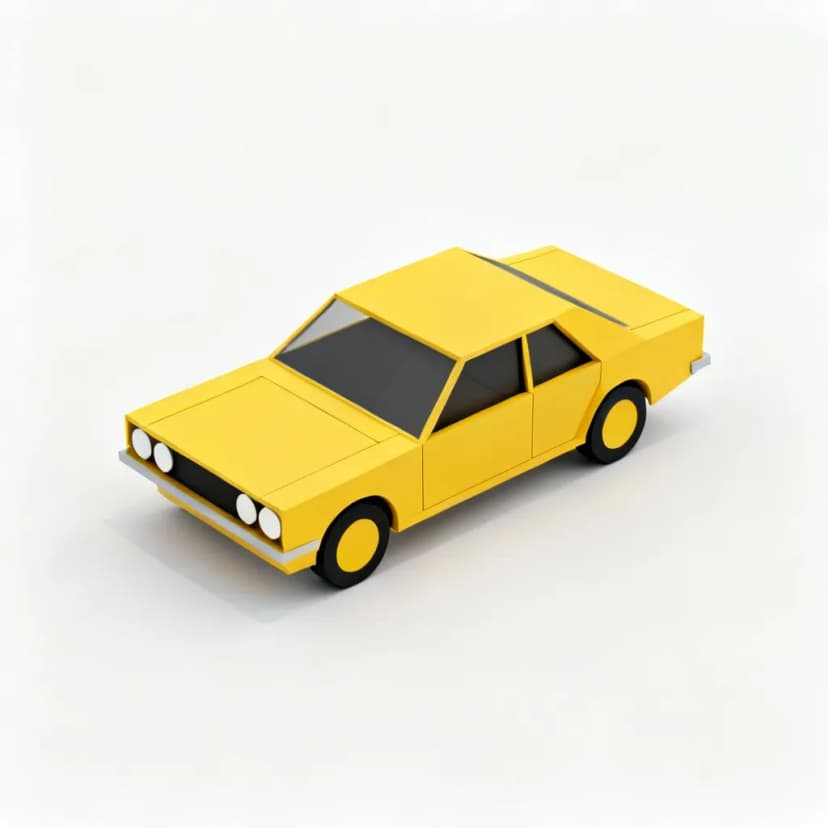
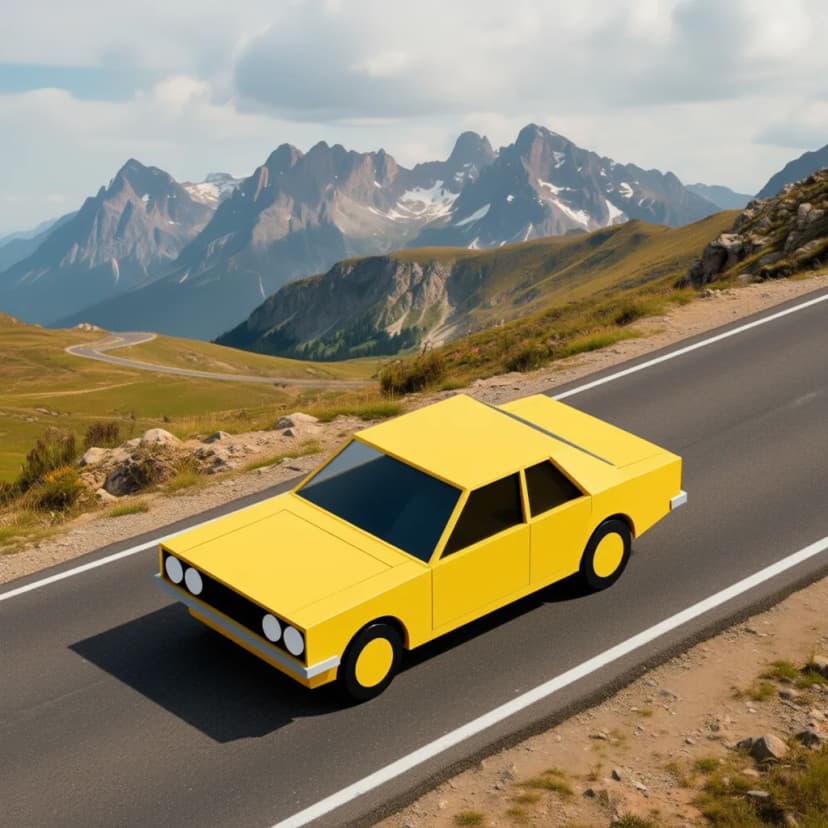
Replace the cluttered background with a clean white studio backdrop, maintaining the product positioning and lightingBefore
After
Remove Element
Best for: Cleaning up unwanted objects
Precisely remove elements from your images while maintaining natural-looking results. Ideal for removing distractions, blemishes, or unwanted objects.
When to use:
- Removing photobombers or distractions
- Cleaning up product photos
- Removing text or logos
- Fixing composition issues
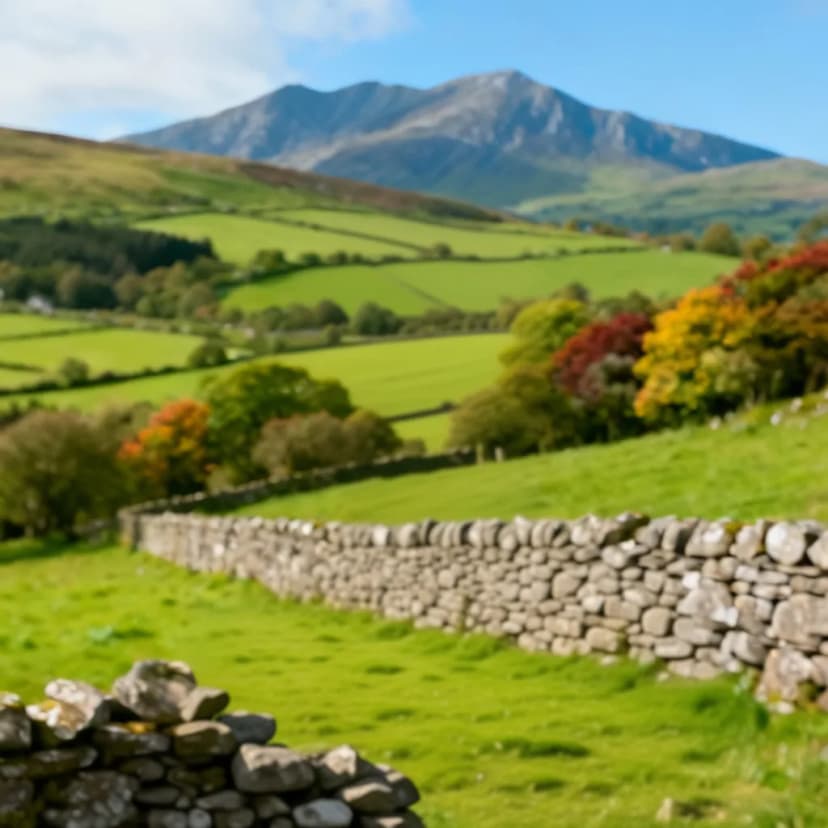
Example Use Case: Remove a distracting object from a landscape photo
Prompt:
Remove the person from the imageBefore

After
Integrate Product
Best for: Product placement and merchandising
Seamlessly integrate products into existing scenes or create product-focused compositions. Essential for e-commerce and marketing content.
When to use:
- Product placement in lifestyle scenes
- Creating product mockups
- E-commerce photography
- Advertising content creation
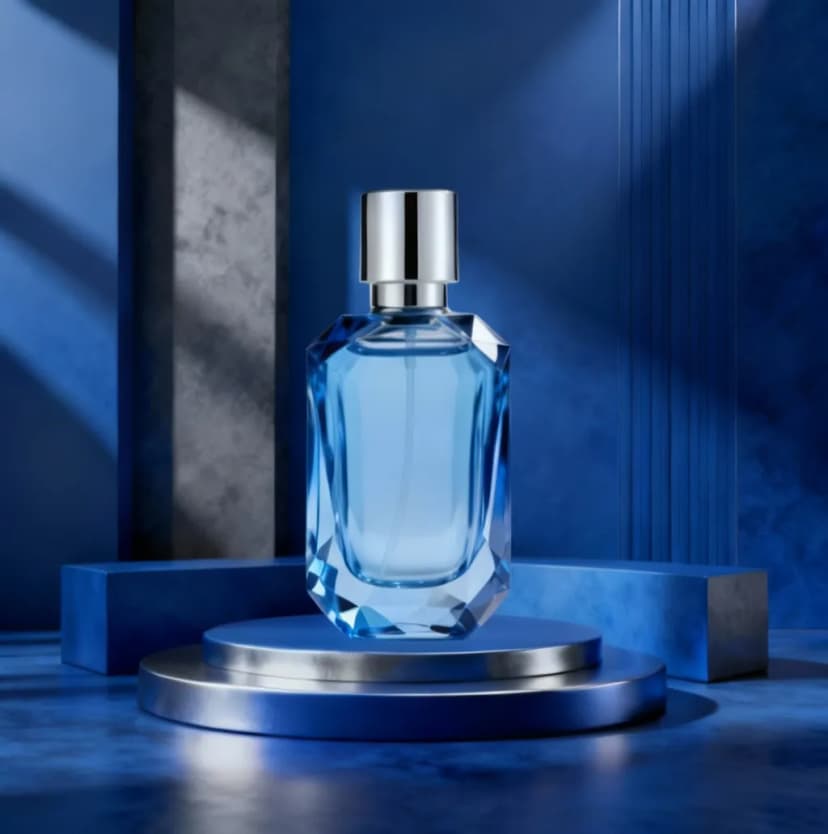
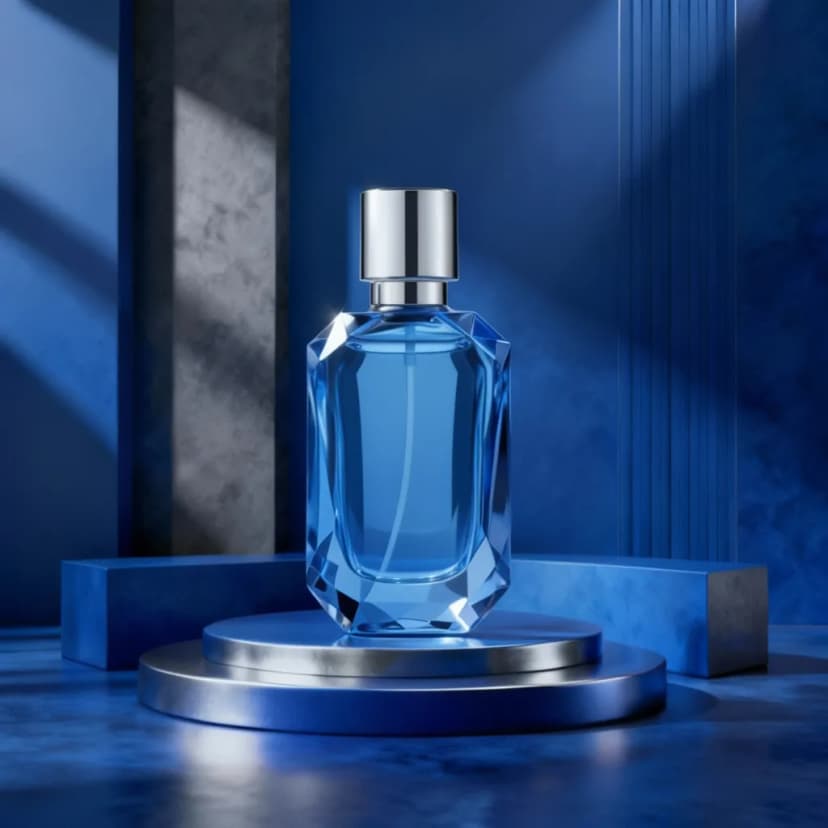
Example Use Case: Place a product on a kitchen counter
Prompt:
Blend and integrate the product into the background with correct perspective and lightingBefore
After
Shirt Design
Best for: Custom apparel and fashion design
Design and customize clothing items with patterns, graphics, and styles. Perfect for fashion designers and custom apparel businesses.
When to use:
- Custom t-shirt designs
- Fashion mockups
- Apparel product photography
- Brand merchandise creation
Example Use Case: Add a custom graphic to a plain t-shirt
Prompt:
Put this design on their shirtBefore

After

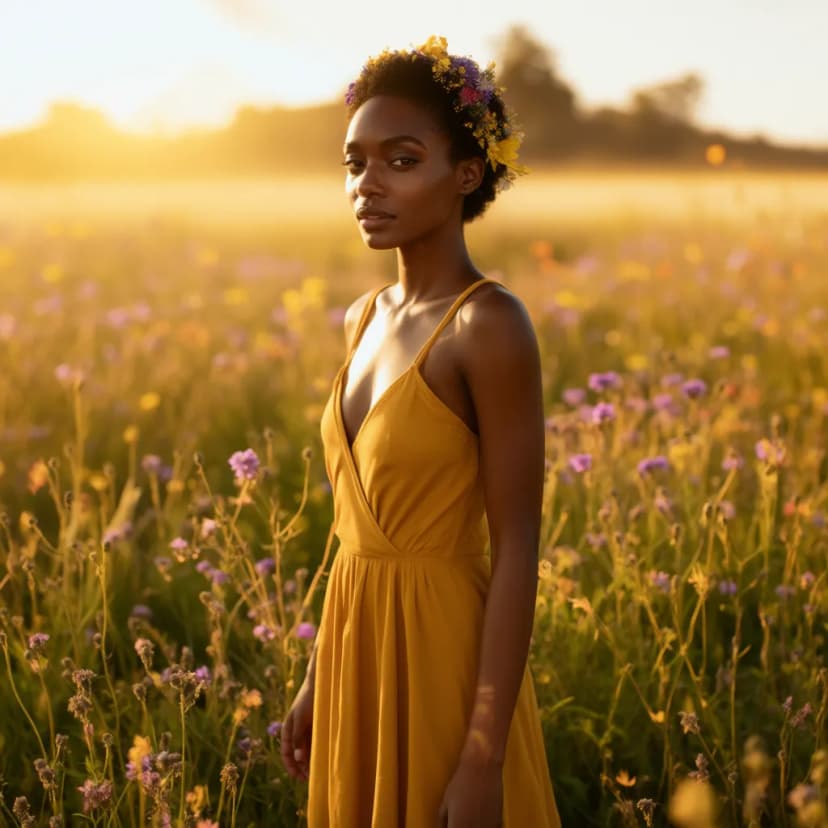
Face to Full Portrait
Best for: Portrait enhancement and completion
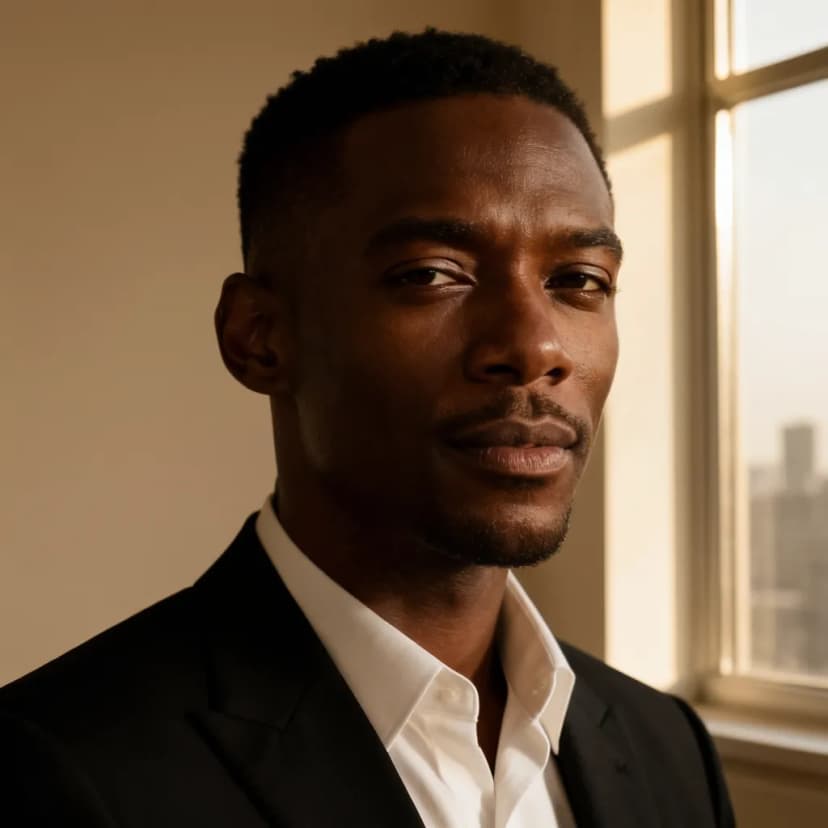
Transform face-only images into complete portraits by intelligently adding bodies, clothing, and backgrounds.
When to use:
- Headshot enhancement
- Profile picture completion
- Professional portrait creation
- Social media content
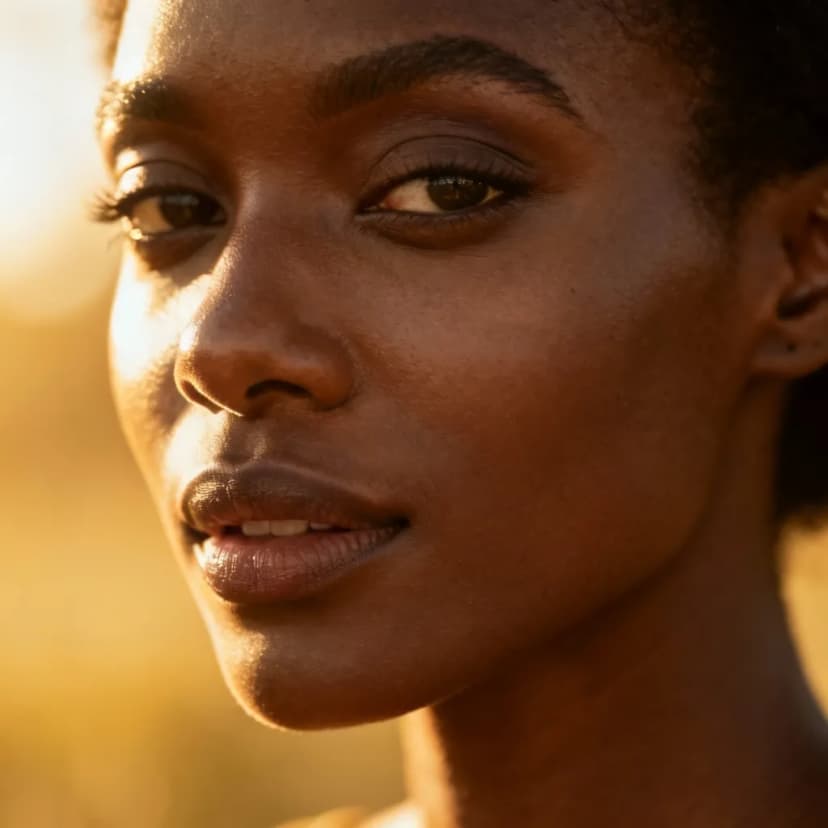
Example Use Case: Convert a face photo into a full professional portrait
Prompt:
Photography. A young woman wearing a yellow dress stands in a flower fieldBefore
After
Group Photo
Best for: Creating group compositions
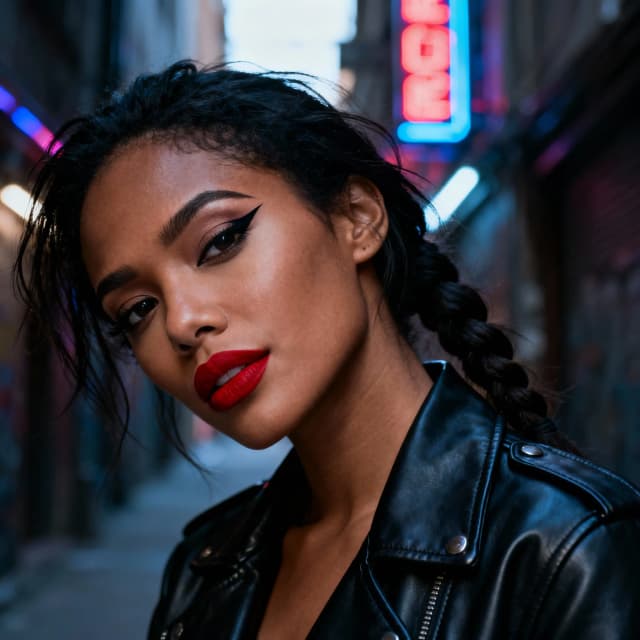
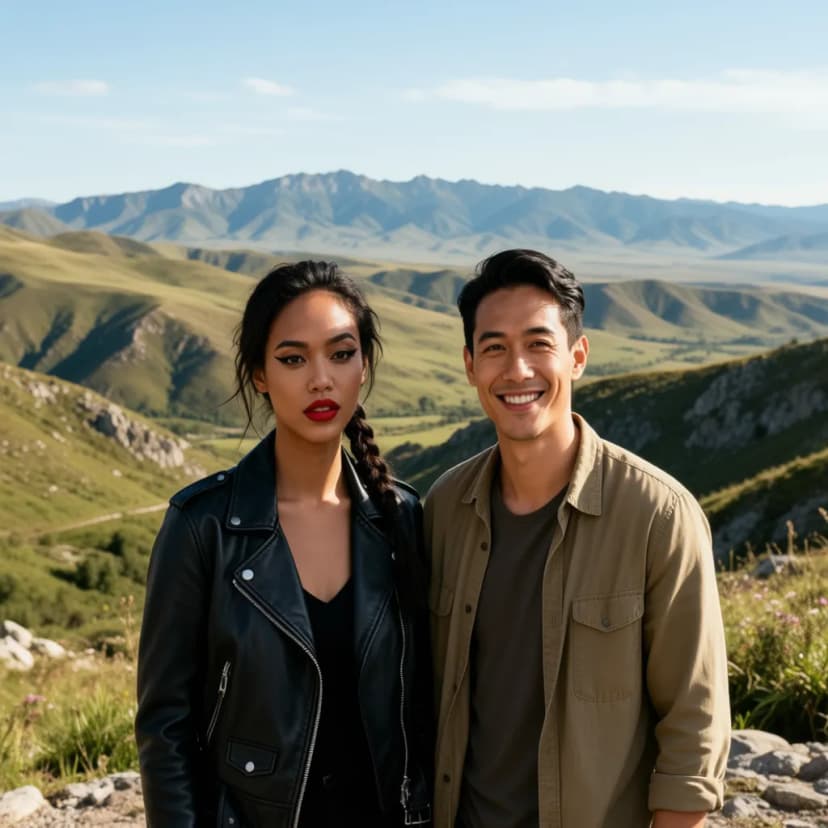
Combine multiple individual photos into natural-looking group shots. Ideal for family photos, team portraits, and event photography.
When to use:
- Family photo creation
- Team portraits
- Event photography
- Social media group content
Example Use Case: Create a family group photo from individual portraits
Prompt:
Two people standing next to each other outside with a landscape backgroundBefore

After
Next Scene
Best for: Storytelling and sequence creation
Generate the next logical scene in a sequence or story. Perfect for creating storyboards, comics, and narrative content.
When to use:
- Storyboard creation
- Comic book panels
- Before/after sequences
- Tutorial illustrations
Example Use Case: Generate the next frame in a cooking tutorial
Prompt:
Next Scene: The camera pulls back to reveal the entire landscapeBefore

After

Remove Lighting
Best for: Lighting correction and enhancement
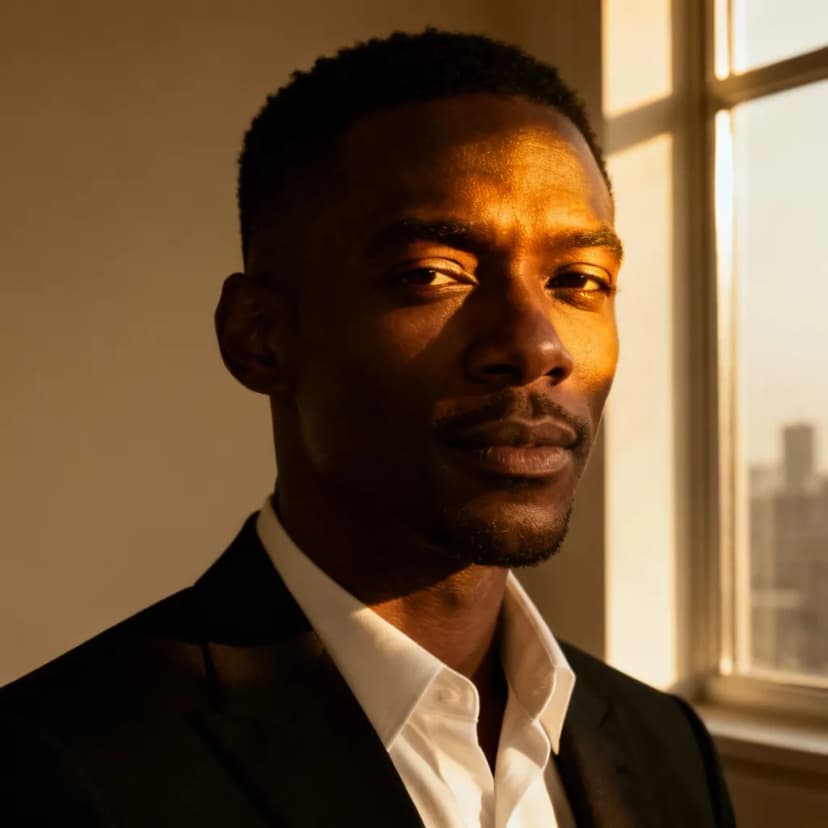
Remove or modify lighting effects to achieve desired mood and atmosphere. Essential for professional photography and creative lighting design.
When to use:
- Lighting correction
- Mood adjustment
- Shadow removal
- Professional photo enhancement
Example Use Case: Remove harsh shadows from a portrait
Before
After
How to use the feature selector
-
Navigate to Qwen Image Edit Plus: Go to the Qwen Image Edit Plus page
-
Upload Your Image(s): Upload the image(s) you want to edit. Some features support multiple images.
-
Select Your Feature: Choose from the 9 available features based on your editing goal.
-
Write Your Prompt: Describe the changes you want to make in natural language.
-
Generate: Click generate and review the first result against your prompt.
-
Download: Save your edited image when satisfied.
Best practices for better results
Make the prompt specific
The more detailed your description, the better the results. Include:
- Specific colors, styles, and materials
- Exact positioning and composition
- Lighting and mood preferences
- Technical specifications when applicable
Match the feature to the task
Each feature is optimized for specific tasks. Using the right feature for your use case will give you the best results.
Change one variable at a time
Generate a first result, identify the largest mismatch, and revise only that part of the instruction. Focused iterations make it easier to understand which wording changed the output.
Use feature categories as a shortcut
Features are organized into categories:
- General: Broad editing capabilities
- Product: Product-focused editing
- Portrait: People and portrait editing
- Scene: Background and environment editing
Compare all nine features
| Feature | Input Images | Best For | Complexity | Use Case Examples |
|---|---|---|---|---|
| General Edit | 1-3 | Overall changes | Medium | Style transfer, color correction |
| Add Background | 1-2 | Scene creation | Easy | Product photography, portraits |
| Remove Element | 1 | Object removal | Easy | Cleaning photos, composition fixes |
| Integrate Product | 2-3 | Product placement | Medium | E-commerce, advertising |
| Shirt Design | 1-2 | Apparel design | Medium | Custom clothing, fashion |
| Face to Full Portrait | 1 | Portrait completion | Easy | Headshots, profiles |
| Group Photo | 2+ | Group creation | Medium | Family photos, teams |
| Next Scene | 1-2 | Storytelling | Hard | Comics, tutorials |
| Remove Lighting | 1 | Lighting correction | Medium | Photo enhancement |
Start your first edit
Choose the row in the comparison table that best matches your goal, prepare the recommended number of reference images, and write one clear instruction for the first pass.
Try Qwen Image Edit Plus
After the first generation, keep the strongest result and refine one issue at a time. This creates a repeatable workflow for both quick experiments and production assets.